
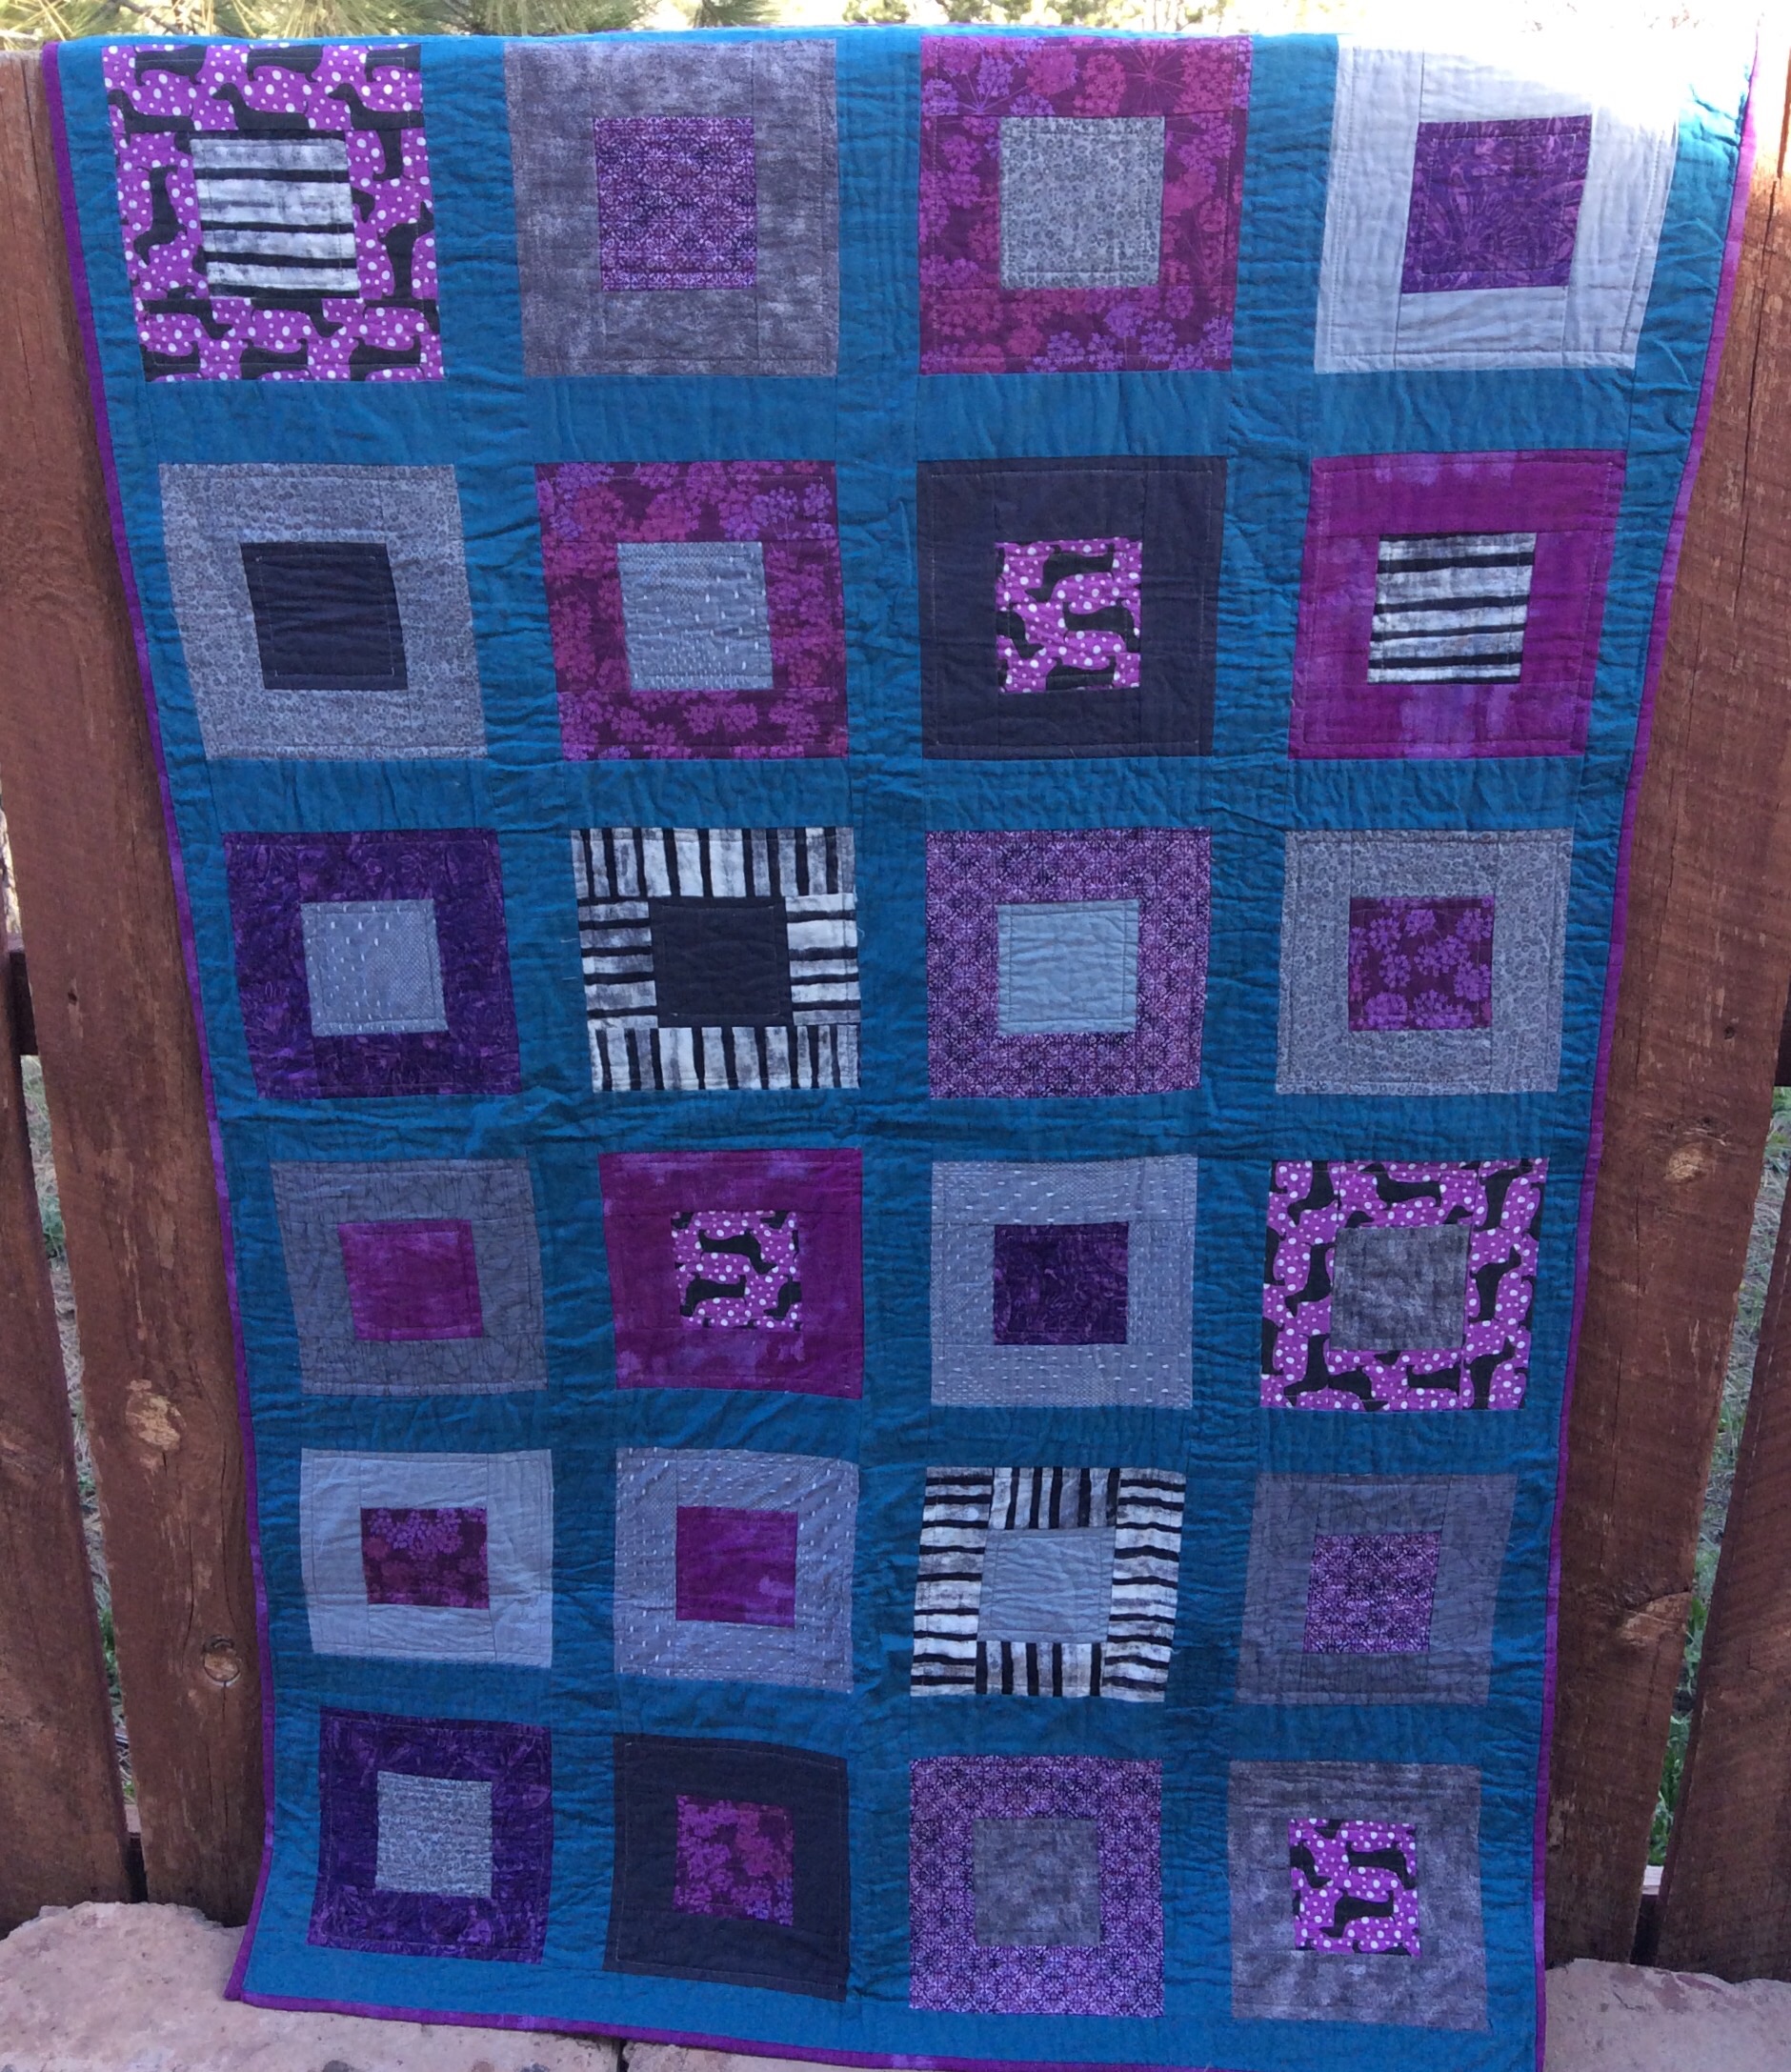
I started a quilt for my stepdaughter in January ’15. I had a wonderful time shopping for fabric both at my local quilt store, ThreadBear, and online. I even had a fat quarter of dachshund fabric printed up at Spoonflower. I found a pattern on Etsy called San Francisco Window Boxes that looked doable for a newbie quilter. Certainly, the piecing of the blocks was straightforward. And sewing on the sashing strips wasn’t hard either, but when I went to do straight-line machine quilting, that’s when disaster struck, and I had my first quilting melt-down. Because my blocks weren’t accurately lined up, when I quilted across the sashing, much of quilting looked diagonal to my quilt blocks rather than parallel to the blocks. Not good!!! If I’d been active on Instagram back then, I would’ve posted a pic of how terrible it looked using the hashtag #sashingsucks! When I stopped by Threadbear a week or so later and started telling the owner, Ann, about my first quilting melt-down, she said to me, “It’s good you got that behind you.” That sort of made me feel better 🙂 I did not take a photo of how awful it looked. If you look closely at the pic below, you can see that many of the blocks are not lined up with their neighboring blocks.
The first thing I did was to revise my deadline for finishing this quilt. I really wanted to get it to my stepdaughter by her birthday the end of March, but it became clear that I could not meet that deadline. I then started to brainstorm on how else I could quilt these blocks which were squares within squares. I decided to quilt each block individually after viewing this video of double-knotting thread-tails and then burying the thread-tails by Pile O’ Fabrics (scroll all the way to the bottom to view the video).
This ended up being a very labor-intensive endeavor. For each of the 24 blocks, I double-knotted and buried 32 thread-tails. I got a little faster as I went along, but the machine quilting for each block took between 60 and 90 minutes. I never want to do that again!

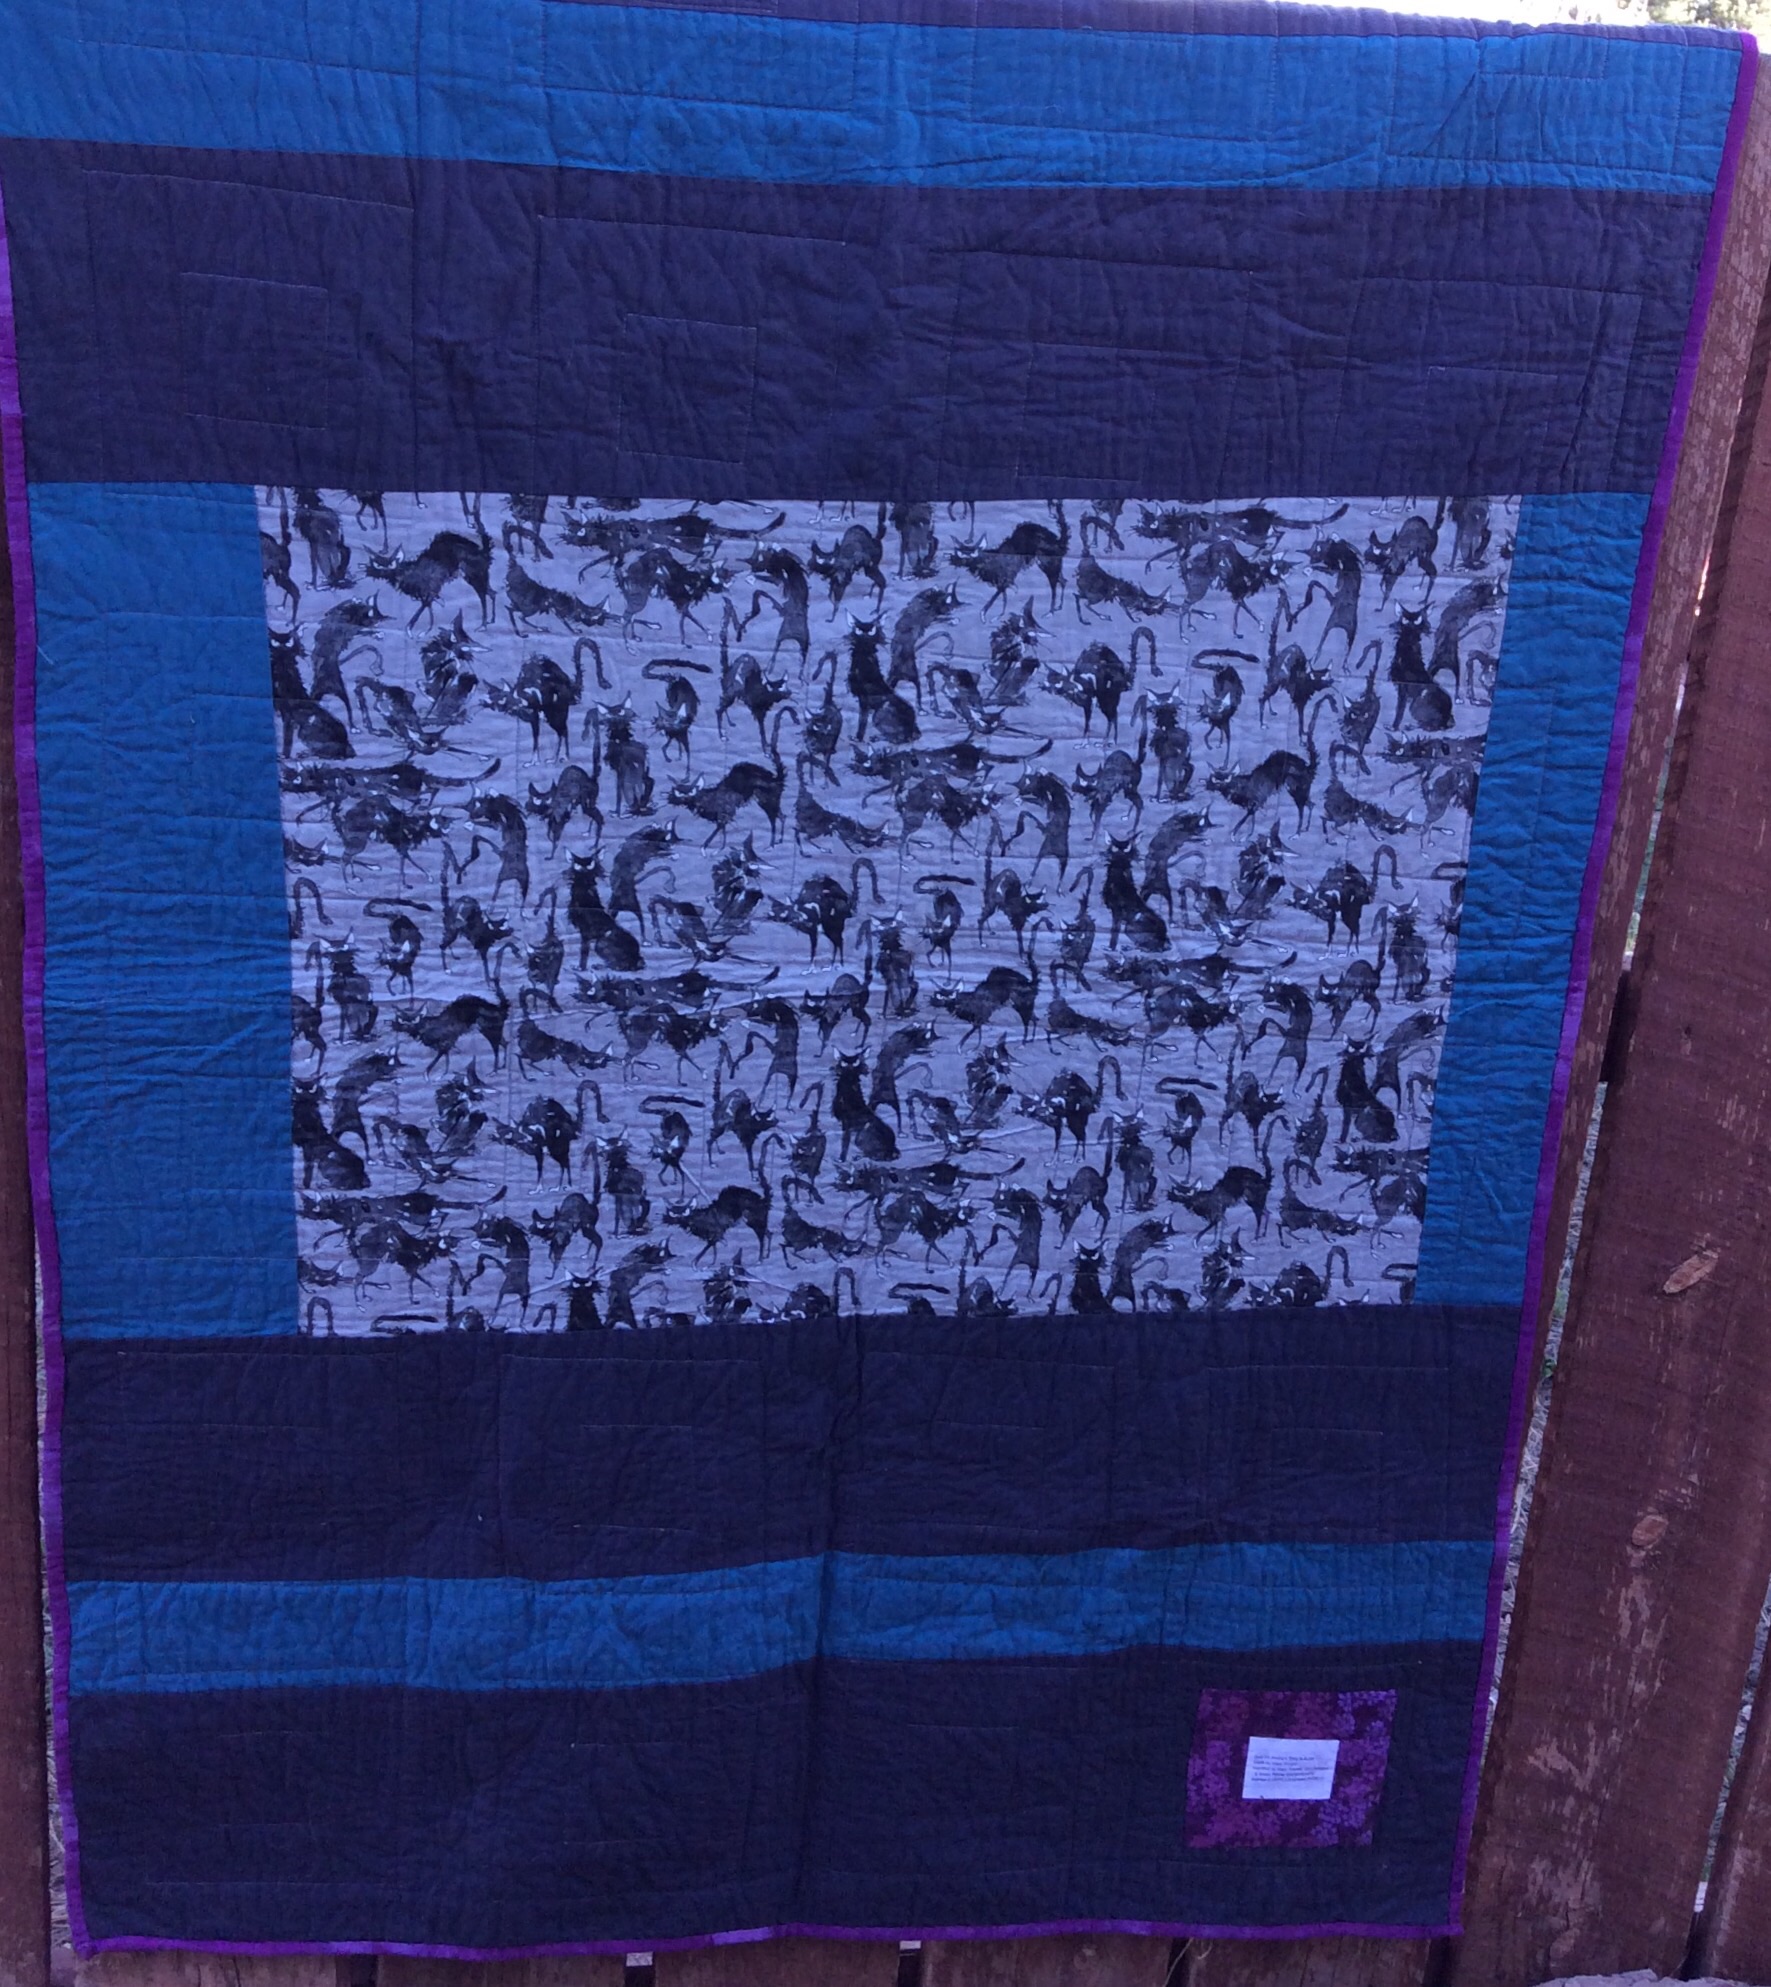
The other lesson learned with this quilt is that I was not ready to use spray basting for a larger throw quilt. My entire back shifted resulting in asymmetrical side borders. I wish I had read this Craftsy blog on Spray Basting Your Quilt first.
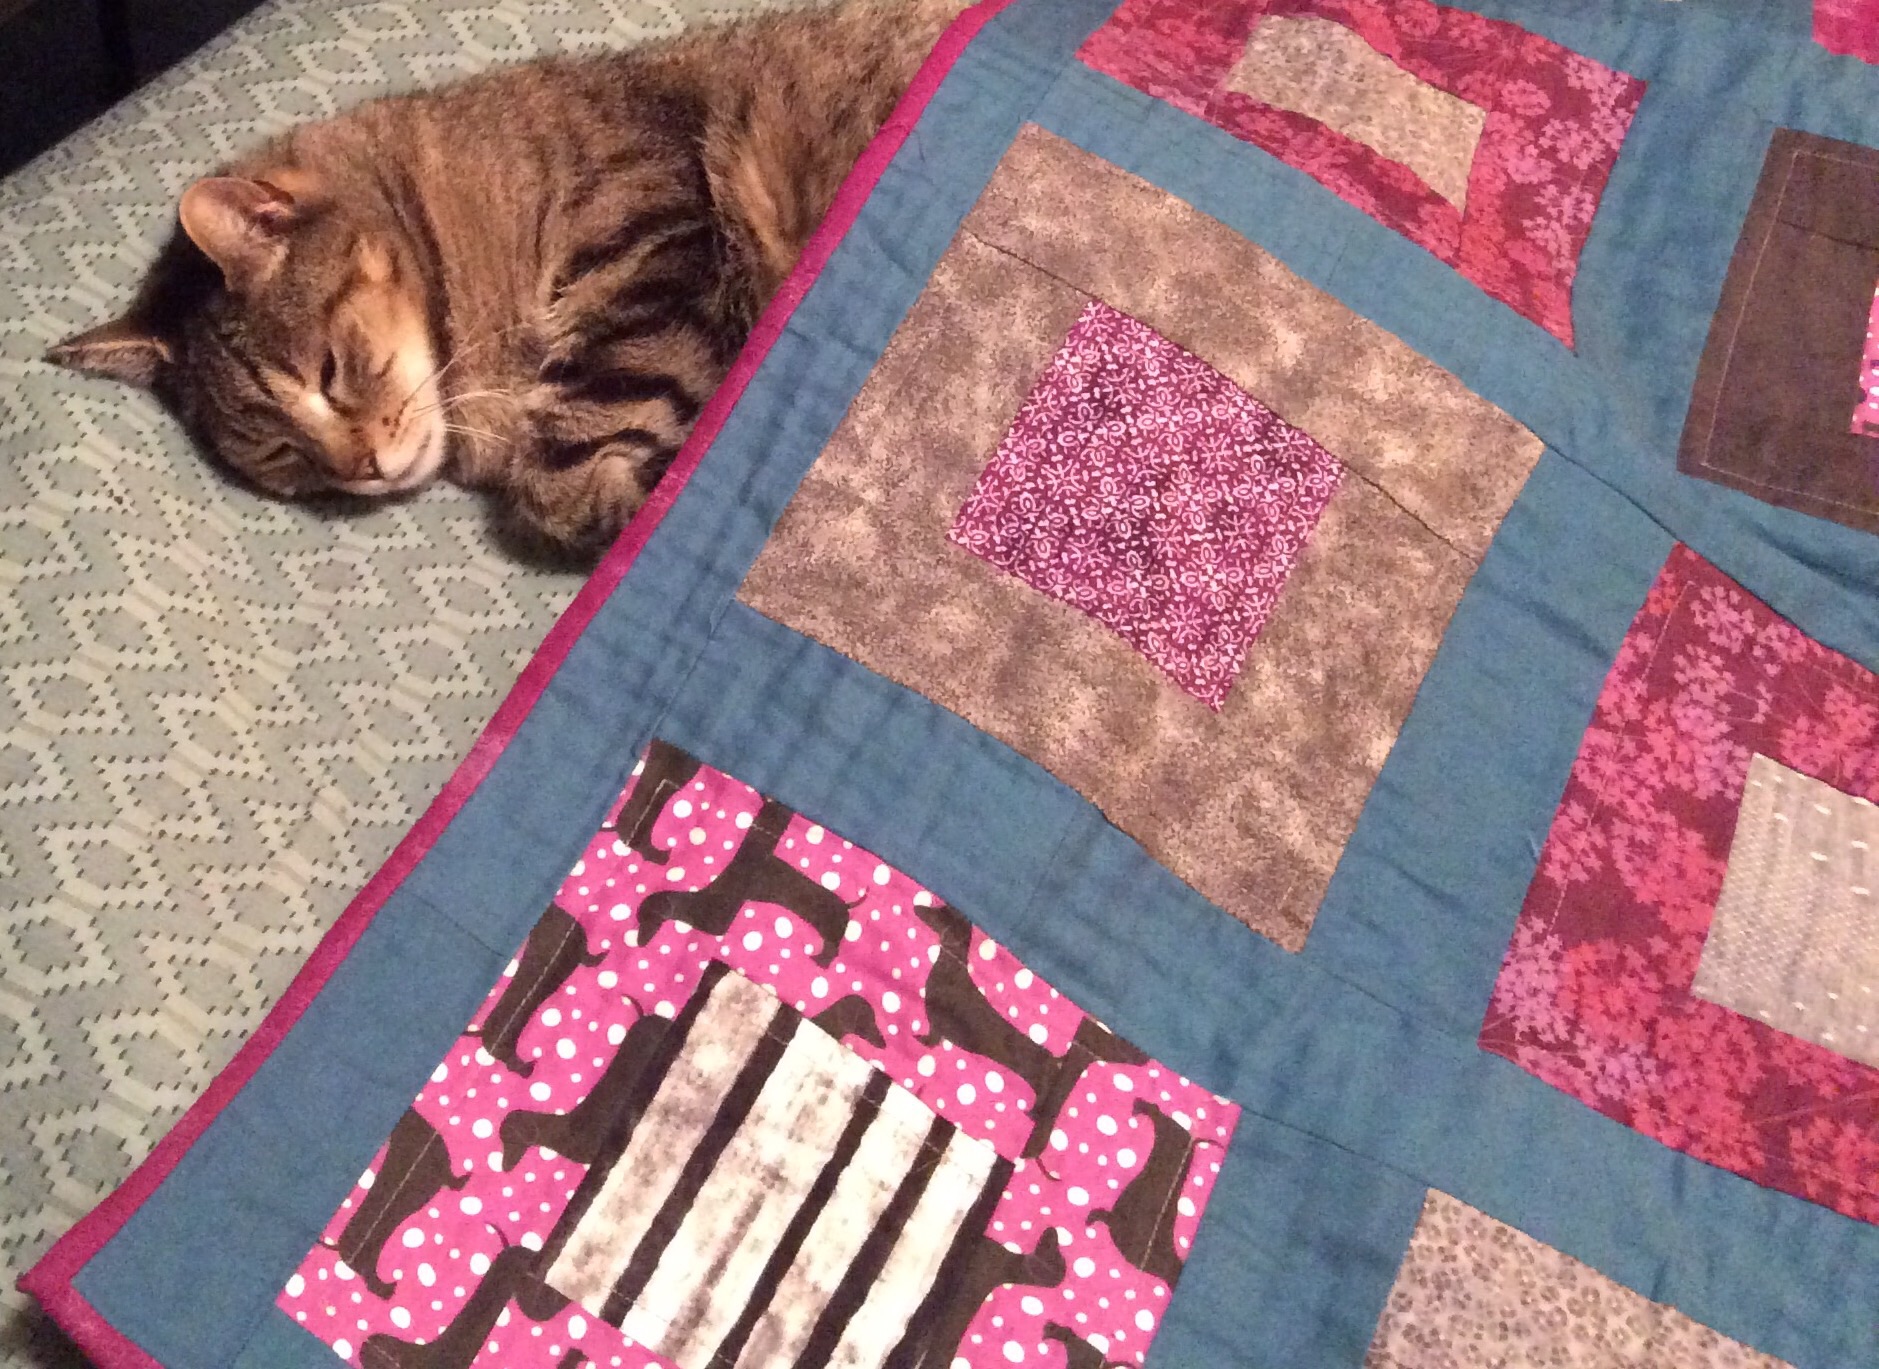
I was much happier with my binding on this quilt than on the binding on my first quilt, Modern Cowgirl Friend. I machine sewed the binding to the quilt front and hand sewed the binding down to the back of the quilt. Here’s the requisite cat/quilt pic with my cat, Jackson, looking very cozy. And no, this wasn’t posed. He would not move when I placed the quilt over him!
One final lesson learned with this quilt is know who is following you on Instagram. I was just starting to learn about Instagram and decided to share pics of this quilt with a friend who was encouraging me to start posting photos on Instagram. What I didn’t realize is that my stepdaughter would see them too! So she had a preview of coming attractions.


Pingback: Modern Cowgirl Friend–Quilt #1 | Quilting is in my Blood
I must say you are making me tired just thinking of all the work you are putting into the quilts and the blogs! And you have a full time job!! Good thing I’m in bed!! As always, great job!
LikeLike
Well alls well that ends well . Your quilt looks well
Pretty much the same thing happened to me and I never thought of quilting the squares individually , I just carried on but made the quilting lines wonky
LikeLike
Pingback: 2015 New Quilt Bloggers Blog Hop | Quilting is in my Blood
Pingback: My Quilty Bucket List–Part One | Quilting is in my Blood
Pingback: Sunday Stash #7–Selfish Sewing Ahead | Quilting is in my Blood
Pingback: Best of 2015–Favorite Pics of Animals on my Quilts | Quilting is in my Blood
Pingback: 2016 Finish-Along Quarter 4 Goals | Quilting is in my Blood
Pingback: Purple Mini Doxie | Quilting is in my Blood