Quilt Guild Fabric Swap Challenge–Quilt #3

I joined my local quilt guild in January 2015 and felt like a total imposter, but three months later with a little more confidence, I decided to participate in a fabric swap with another guild member. The fabrics provided to me were very colorful and attractive, but they weren’t my typical color scheme. I decided to use a rail fence pattern as well as trying diagonal machine quilting using strips of masking tape as quilting guides. In order to turn my quilt top into a tabletopper, I decided to add a turquoise border and backing and orange binding–my two go-to colors. It was satisfying to do such a quick project.

image

image

Posted in Uncategorized | 2 Comments

My First Quilting Meltdown–Quilt #2

I started a quilt for my stepdaughter in January ’15. I had a wonderful time shopping for fabric both at my local quilt store,  ThreadBear, and online. I even had a fat quarter of dachshund fabric printed up at Spoonflower. I found a pattern on Etsy called San Francisco Window Boxes that looked doable for a newbie quilter. Certainly, the piecing of the blocks was straightforward. And sewing on the sashing strips wasn’t hard either, but when I went to do straight-line machine quilting, that’s when disaster struck, and I had my first quilting melt-down. Because my blocks weren’t accurately lined up, when I quilted across the sashing, much of quilting looked diagonal to my quilt blocks rather than parallel to the blocks. Not good!!! If I’d been active on Instagram back then, I would’ve posted a pic of how terrible it looked using the hashtag #sashingsucks! When I stopped by Threadbear a week or so later and started telling the owner, Ann, about my first quilting melt-down, she said to me, “It’s good you got that behind you.” That sort of made me feel better 🙂 I did not take a photo of how awful it looked. If you look closely at the pic below, you can see that many of the blocks are not lined up with their neighboring blocks.

image

The first thing I did was to revise my deadline for finishing this quilt. I really wanted to get it to my stepdaughter by her birthday the end of March, but it became clear that I could not meet that deadline. I then started to brainstorm on how else I could quilt these blocks which were squares within squares. I decided to quilt each block individually after viewing this video of double-knotting thread-tails and then burying the thread-tails by Pile O’ Fabrics (scroll all the way to the bottom to view the video).

This ended up being a very labor-intensive endeavor. For each of the 24 blocks, I double-knotted and buried 32 thread-tails. I got a little faster as I went along, but the machine quilting for each block took between 60 and 90 minutes. I never want to do that again!

image

The other lesson learned with this quilt is that I was not ready to use spray basting for a larger throw quilt. My entire back shifted resulting in asymmetrical side borders. I wish I had read this Craftsy blog on Spray Basting Your Quilt first.

image

I was much happier with my binding on this quilt than on the binding on my first quilt, Modern Cowgirl Friend. I machine sewed the binding to the quilt front and hand sewed the binding down to the back of the quilt. Here’s the requisite cat/quilt pic with my cat, Jackson, looking very cozy. And no, this wasn’t posed. He would not move when I placed the quilt over him!

image

One final lesson learned with this quilt is know who is following you on Instagram. I was just starting to learn about Instagram and decided to share pics of this quilt with a friend who was encouraging me to start posting photos on Instagram. What I didn’t realize is that my stepdaughter would see them too! So she had a preview of coming attractions.

Posted in 2015 Finishes | 9 Comments

Modern Cowgirl Friend–Quilt #1

I know I’m doing things a little backwards having already posted six blogs and not having blogged about the four quilts I’ve finished, but I’ve decided to create a 2015 Projects page for my blog, so I’m in catch-up mode now!

The first quilt that I completed was in March 2015 for a dear friend’s 60th birthday. I did a few things right, and of course, there were lessons to learn making this quilt. I was happy with my choice of fabric for my friend who loves horses. She has her own horse, lives on a small ranch, and enjoys walking the ranch searching for arrowheads. I also think the simple design of sewing together 5.5 inch squares 6 columns by 8 rows worked well. And I love how the distressed fabric on the back of the quilt reminds me of leather, perfect for my modern cowgirl friend! Overall, I feel good about the straightline machine quilting since it was the first time I had done this other than for a mug rug.

image


image

As far as what I wished I’d done differently, first is that I wish I had documented the work in progress in photos and had taken better pics of the finished quilt. I don’t even have a photo of quilt label on the back. I wish I’d had a quarter-inch foot with a guide which would have helped me sew a more consistent quarter inch seam. What I am least happy about regarding my first completed quilt is the binding that I sewed down by machine. There is an uneven maroon seam around the perimeter of the quilt sometimes a quarter inch inside the binding which makes me cringe when I even think about it!

I do have to say that my friend was very pleased with her quilt. I definitely met my goal of improving my quilting skills which does not happen without being willing to make some mistakes. I specifically applied one lesson learned on my next quilt and took the time to hand-sew down the binding on My First Quilting Meltdown–Quilt #2.

Posted in 2015 Finishes | 3 Comments

Quilting in Glass

For many years when people would ask me if I quilted like my mother did, I would respond, “I quilt in glass.” I’d go on to explain that like a quilter, I would cut bigger pieces of glass and tile into smaller shapes and then place the pieces together in a certain pattern or design.

My first mosaic project  in 2005 was a set of four coasters, two from a Mosaic’s Mercantile coaster kit and two that I made with additional materials using the kit pattern.

Coasters, design by Mosaic Mercantile

I then fell in love with mosaics made out of tempered glass, took a class from the fabulous mosaic artist, Ellen Blakeley and primarily made tempered glass mosaics for a few years. One of my favorite tempered glass mosaics is a mosaic plaque I made in 2006 with tempered glass, stained glass, and a border of glitter tiles that hangs in my office at work to remind my clients and me to remember to breathe.

Breathe Grouted

In 2009 I took a Millefiore Mirror class from Laurel Skye and that is when I started to design small blocks that worked together with other blocks to make a cohesive mosaic using tinted tile mastic to adhere a variety of tile, glass, and metal. I think a photo might explain it better:

image

In recent years, I have frequently looked at quilting websites for inspiration. Here is pic of a stepping stone I made in 2011 with a framed cross block pattern designed by Marcia Hahn of Quilter’s Cache. As much as I find photographing quilts to be challenging, at least quilts don’t catch the glare from the sun or the light in the room.

Framed Cross Stepping Stone

In 2012 I made a mosaic top for the vanity in our new bathroom using iridescent stained glass.

image

Later in 2012 I decided to recreate in mosaic some of the quilt blocks that are in a quilt my mother made for me about 35 years ago (I sure wish she had put labels on her quilts which reminds me I still need to put a label on the last quilt I finished). She made the quilt in the country-style color scheme of light blue and pink, but my color preferences have significantly changed in the last 35-40 years (thank goodness!), so I made this mosaic table using iridescent glass tiles in greens, teal, yellow, dark coral, and almond. I’m in the process of taking and gathering photos of my mother’s quilts and plan to do a blog later this summer devoted to my mother’s quilting.

image

In 2013 I had a lot of tempered glass to use up, so decided to paint an end table gold, tore up pieces of copper leaf sheets, and glued the copper leaf on the table with a quick-drying adhesive called Mac glue. I had no idea that the glue would oxidize the copper which gave it such a cool effect. When I grouted the table with black grout, it even further oxidized. I call this my Happy Accident table.

image

I made this trivet for my sister’s 70th birthday in 2014 modifying Marcia Hahn’s Brother Bear/Sister Sun block pattern from Quilter’s Cache.

image

The last few years I have made mosaic Christmas ornaments for my family and close friends. These are quick projects comparable to making a mug rug. Here’s a pic of an assortment of them.

image


This past Christmas I decided to make a more improv style Christmas ornament using gold and copper 24K gold tiles with both smooth and textured surfaces.

image

I honestly don’t know how many more mosaics I will make. I’ve promised my sister one more mosaic Christmas ornament. I can tell you as I’ve increased my fabric stash, more and more of my mosaic materials have been moved into my storage shed to make room for fabric and other quilting materials. It might be time soon for mosaic supplies destash but definitely not my 24K gold tiles!


Posted in Mosaics | 10 Comments

Sunday Stash #2

I’ve been to the  Kate Wolf Music Festival four or five times over the past several years but those trips were prior to the onset of my quilting addiction. This year when I decided to join my family for what we jokingly refer to as “The Hippie Fest,” I immediately looked online to see if there was a quilt store anywhere near the festival. I was thrilled to discover that The Fat Quail Quilt Shop was right on our way, just a few miles from the festival grounds. Thankfully, my family was on board for a stop en route, and I was able to get my fabric-touching fix.

After wandering around the store and picking up a couple random fat quarters, I saw a quilt on the wall that had some grey and black modern rose batik fabric I hadn’t seen before. I asked the owner of the shop if she sold yardage of this striking fabric, and she said, “Only in that assortment,” pointing to bundle of fabric with a cringe-worthy $95 price tag. But the substantial amount of the modern rose fabric was just too enticing, and my other justification was “what a cool souvenir from this vacation.” So I decided to splurge.

image

Beach Balls Quilt

Close-up of Grey and Black Modern Rose Batik Fabric

Close-up of Grey and Black Modern Rose Batik Fabric

If anyone knows where I can get more of this fabric, please let me know. I just love it and would love to use it in some other projects.

image

Fabric bundle for Beach Balls Quilt

Then I saw the pattern for the Beach Balls quilt next to the fabric bundle and asked if it was included in the fabric bundle. You guessed it, it wasn’t.

image

The pattern has half-square triangles which I haven’t done yet. I plan to buy Jeni Baker’s book when it comes out in October, Patchwork Essentials: The Half-Square Triangle and try making some half-square triangles prior to taking her Mastering the Half-Square Triangle workshop at QuiltCon. I learn so much better when I practice a new skill at my own pace and figure out what my personal downfalls are. The pattern also has Ying and Yang blocks with backwards “S” curves and Fan Blade blocks with regular “S” curves. Yeegads! This quilt is definitely not going to make my 2015 Finish-along list! Maybe after QuiltCon in February and Glamp Stitchalot 2016 hosted by Pink Castle Fabrics hosted by next June, I might be ready to tackle this quilt.

I loved the greys and yellows in the Beach Balls quilt hanging in the store, but I think it needs a pop of teal like in this t-shirt I bought at the festival.

image

I might have to hide this assortment to keep myself from raiding it until I have more intermediate quilting skills. Hopefully, I won’t hide it too well!

Linking up with Molli Sparkles Sunday Stash.

Posted in Uncategorized | 4 Comments

Sunday Stash #1

Since I have more stash than anyone who has been quilting for less than eight months should rightfully have, I decided to link up with Molli Sparkle’s Sunday Stash. I recently was lurking around the websites of the hosts of the 2015 New Quilt Bloggers, and I saw that Terri Ann@Childlike Fascination shared about a giveaway from the Etsy shop Sew me a Song for a Rainbow Text fat-eighth bundle. When I read about it, the giveaway had already closed (don’t you hate that?), but I decided to treat myself to some of that colorful text fabric. It arrived just two days later! Sew me a Song gets extra points for their quick shipping. I spent some time arranging it this morning kind of like Pink Castle Fabrics does with their bundles. I never knew how much time fabric arranging could take! But isn’t it pretty?

Rainbow Text Bundle

Rainbow Text Bundle from https://www.etsy.com/shop/sewmeasong

I’ll be able to share about some more stash soon because I found out that I did win a giveaway yesterday. The hosts for the 2015 New Quilt Bloggers were able to get some awesome prizes for  the Blog Hop Week 1, and I won the Parrot fat-quarter bundle from Pile O’Fabric. Very cool! Read about the giveaway and prizes here. Week 1 Giveaway

Look for me to do some retroactive Sunday Stash blogs next month about my recent trips in May to Pink Castle Fabrics and Hip Stitch Fabrics in Albuquerque.

Posted in Uncategorized | 15 Comments

Do-Overs

This gallery contains 7 photos.

I’m not fond of do-overs, and I know I’m not alone in that feeling. But sometimes they just have to be done. After being given so much beautiful fabric for my birthday in March by four different people and wanting … Continue reading

More Galleries | Tagged | 9 Comments

Perfect is the Enemy of Good

I’m finding it more difficult to write my second blog, and part of it is that I have followers now which is both exciting and scary.  I’m learning more about blogging through participating in a new quilt bloggers group, and one of the best pieces of advice I’ve gotten so far is that my blog will be a work-in-progress, and I can implement improvements bit by bit. A future goal is to put a Follow Me on Bloglovin button on my blog. Enough about my blogging journey and onto my quilting addiction! One of my guilty pleasures is shopping online for fabric. Certainly, I’ve bought fabric from current collections, but I’ve found it especially helpful to find fabric that is out-of-print. I recently bought some Andover Low Tide Seagull fabric from an Australian Etsy shop because I could not find it anywhere in the U.S. And amazingly the price wasn’t much more than domestic prices including shipping. As much as I enjoy online shopping, there is nothing like shopping for fabric in quilt stores. I frequently go to my local quilt store, Threadbear, but like other quilters, when I travel, I really enjoy going to new quilt stores. I’ve been to two fabulous quilt stores in the past two weeks. When I visited my sister in Michigan, I went to Pink Castle Fabrics in Ann Arbor, and a couple days I went to Hip Stitch in Albuquerque.

image

It is so fun to see the fabrics in person that I’m familiar with from the internet. I especially enjoy seeing the colors, feeling the fabric, and to be able to tell how one fabric will work with another. I have to tell you that Lisa at Hip Stitch was wonderful to talk to, and with her enthusiastic but low-key sales approach, I ended up buying more yardage than I’d planned. My stash is starting to get out of control. Now that’s a problem I like having! Some of the fabric I bought yesterday is for some log cabin block swaps I’m doing on Instagram. You can follow me on Instagram at mringer58. People can request certain fabric colors, and one of my swap-mates requested yellow and light blue which are two colors that I have very little of in my stash. But Hip Stitch had the Zen Chic Numbers collection in stock, and I am very familiar with this collection from doing the super simple sample blocks tutorials posted by Sharon of colorgirlquilts.com. Color Girl Quilts Simple Sampler Block Tutorials I was given some beautiful fabric for my birthday in March by four different people, so I decided to improve my quilt piecing skills by following Colorgirlquilt’s wonderful tutorials. Here’s a pic of some of the blocks I completed.

image

I still have a couple more to do before I put them together as a wall-hanging. Alright, it’s time for me to start sewing. I will check in soon.

Posted in Uncategorized | 5 Comments

The Beginning

The slippery slope into my quilting addiction began quite innocently. In January 2014, I was browsing in the independent bookstore in my small town and saw they had a 2014 calendar on sale that had lovely photos of quilts. I decided it would be a bright, colorful calendar for my office and would bring up good memories of my mother who was an accomplished quilter. The one photo in the calendar that I frequently would look at was a rail-fence pattern made up of purple and blue batik fabrics.

Around that time, I started to get to know one of my work colleagues, Beverly, who had recently moved to New Mexico from Ohio. It didn’t take long to discover that quilting is one of Beverly’s passions. I shared with her my love of mosaics, telling her that “I quilt with glass because I didn’t get the sewing gene.” I never took Home Ec in school and hadn’t touched a sewing machine since junior high after making an apron and not being all that fond of the process.

Shortly after that, I decided to subscribe to the magazine, Quilting Arts, telling myself it was for inspiration for mosaics. I looked forwarded to perusing each issue and was absolutely astounded by what people could create using fabric. Though like mosaics, I wasn’t as drawn to the representational quilts as much as the photos of geometric-shaped and modern quilts in calendar.

As the year progressed, and I flipped each month of my calendar, I started to consider that maybe I could try some simple quilting. Another friend at work started encouraging me to buy a basic sewing machine to give it a shot. When I started checking out sewing machines online, it was pretty much a done deal. I ended up ordering a Brother sewing/quilting machine, but when it arrived, I was too scared to even take it out of the box. So it sat on the floor in my bedroom for a few weeks.

What finally got me to take my sewing machine out of the box was when Beverly forwarded an email on 10/10/14 with a subject line that said “Make the nifty, efficient 5-yard Everyday Quilt.” It was from our local quilt store, Threadbear, and the three-evening class was for “confident beginners.” Well, that certainly wasn’t me since I hadn’t touched a sewing machine in over 40 years and hadn’t even taken my sewing machine out of the box! But Ann, the owner of Threadbear, told me that she’d give me some extra help, and Beverly also offered some sewing hand-holding, so I nervously signed up for the class.

The next Saturday I hefted the box over to Beverly’s house, and we unpacked my sewing machine, and she patiently walked me through the basics of threading my machine, winding a bobbin, and introduced me to some of my presser feet. We had a heck of a time getting the walking foot attached, and it gave me grief for months to come, but I finally am more or less comfortable putting it on and taking it off. It helped to buy a short-shafted screwdriver to use rather than the useless disc Brother included to loosen the presser foot attachment.

Beverly encouraged me to get a 50% off coupon at JoAnn’s and get an Olfa cutting mat, rotary cutter, and a rolling sewing machine tote which I did prior to anxiously going to my first quilting class on 10/20/14 and started to learn the basics of piecing a quilt. I also got the fabric for my quilt at JoAnn’s which was fine for my first project, but since that time, I have developed a taste for beautiful quilt store-grade fabrics both at my local quilt store and online.

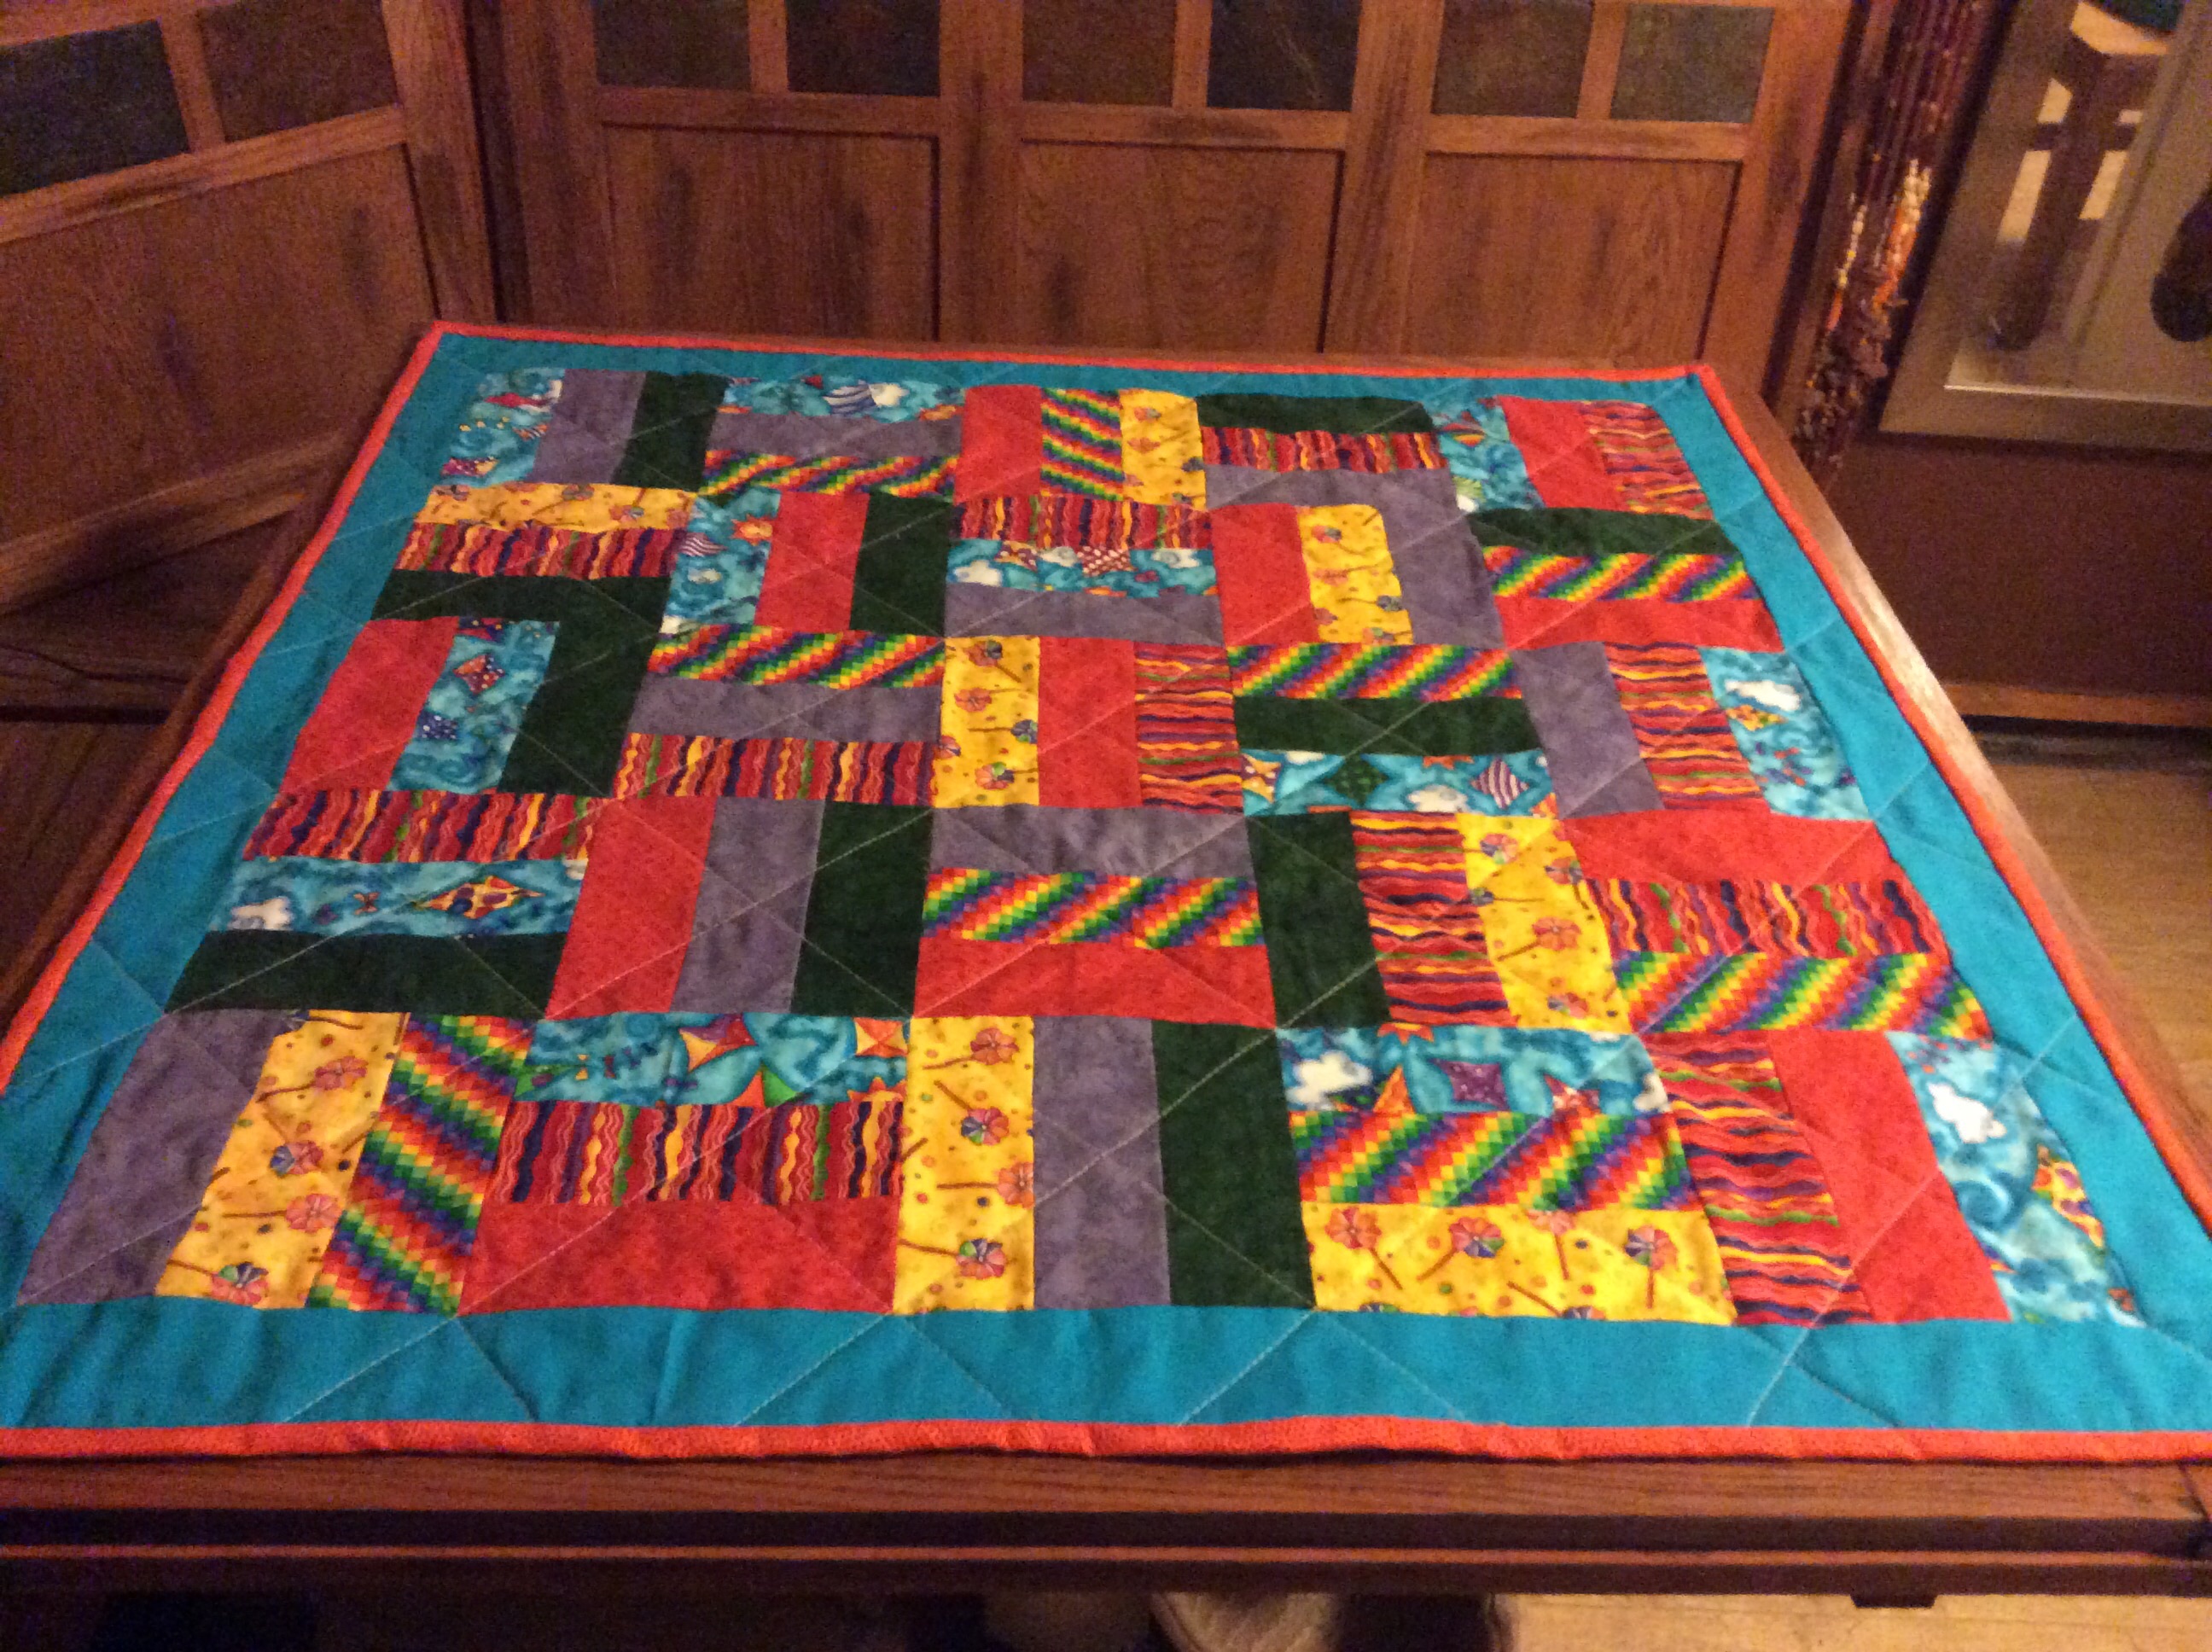
After learning to hold my thread tails down to avoid “thread throw-up” and ripping out many stitches after not making sure my seam allowances were facing the right way before sewing over them, I got 35 blocks pieced and even sewed the blocks together to make seven rows. Here’s one unsewn row with two of my supervisors:


Beverly helped me to sew my first three rows together, and lining up the blocks was HARD! I decided to put this project away and make some mug rugs for Christmas presents because by that time, I had become completely addicted to Pinterest and had pinned a few mug rug tutorials. I ended up making up my own simple pattern with using Rae’s cheater binding tutorial Made by Rae and had a great time making a bunch of them. I can only find a pic of one of them right now.


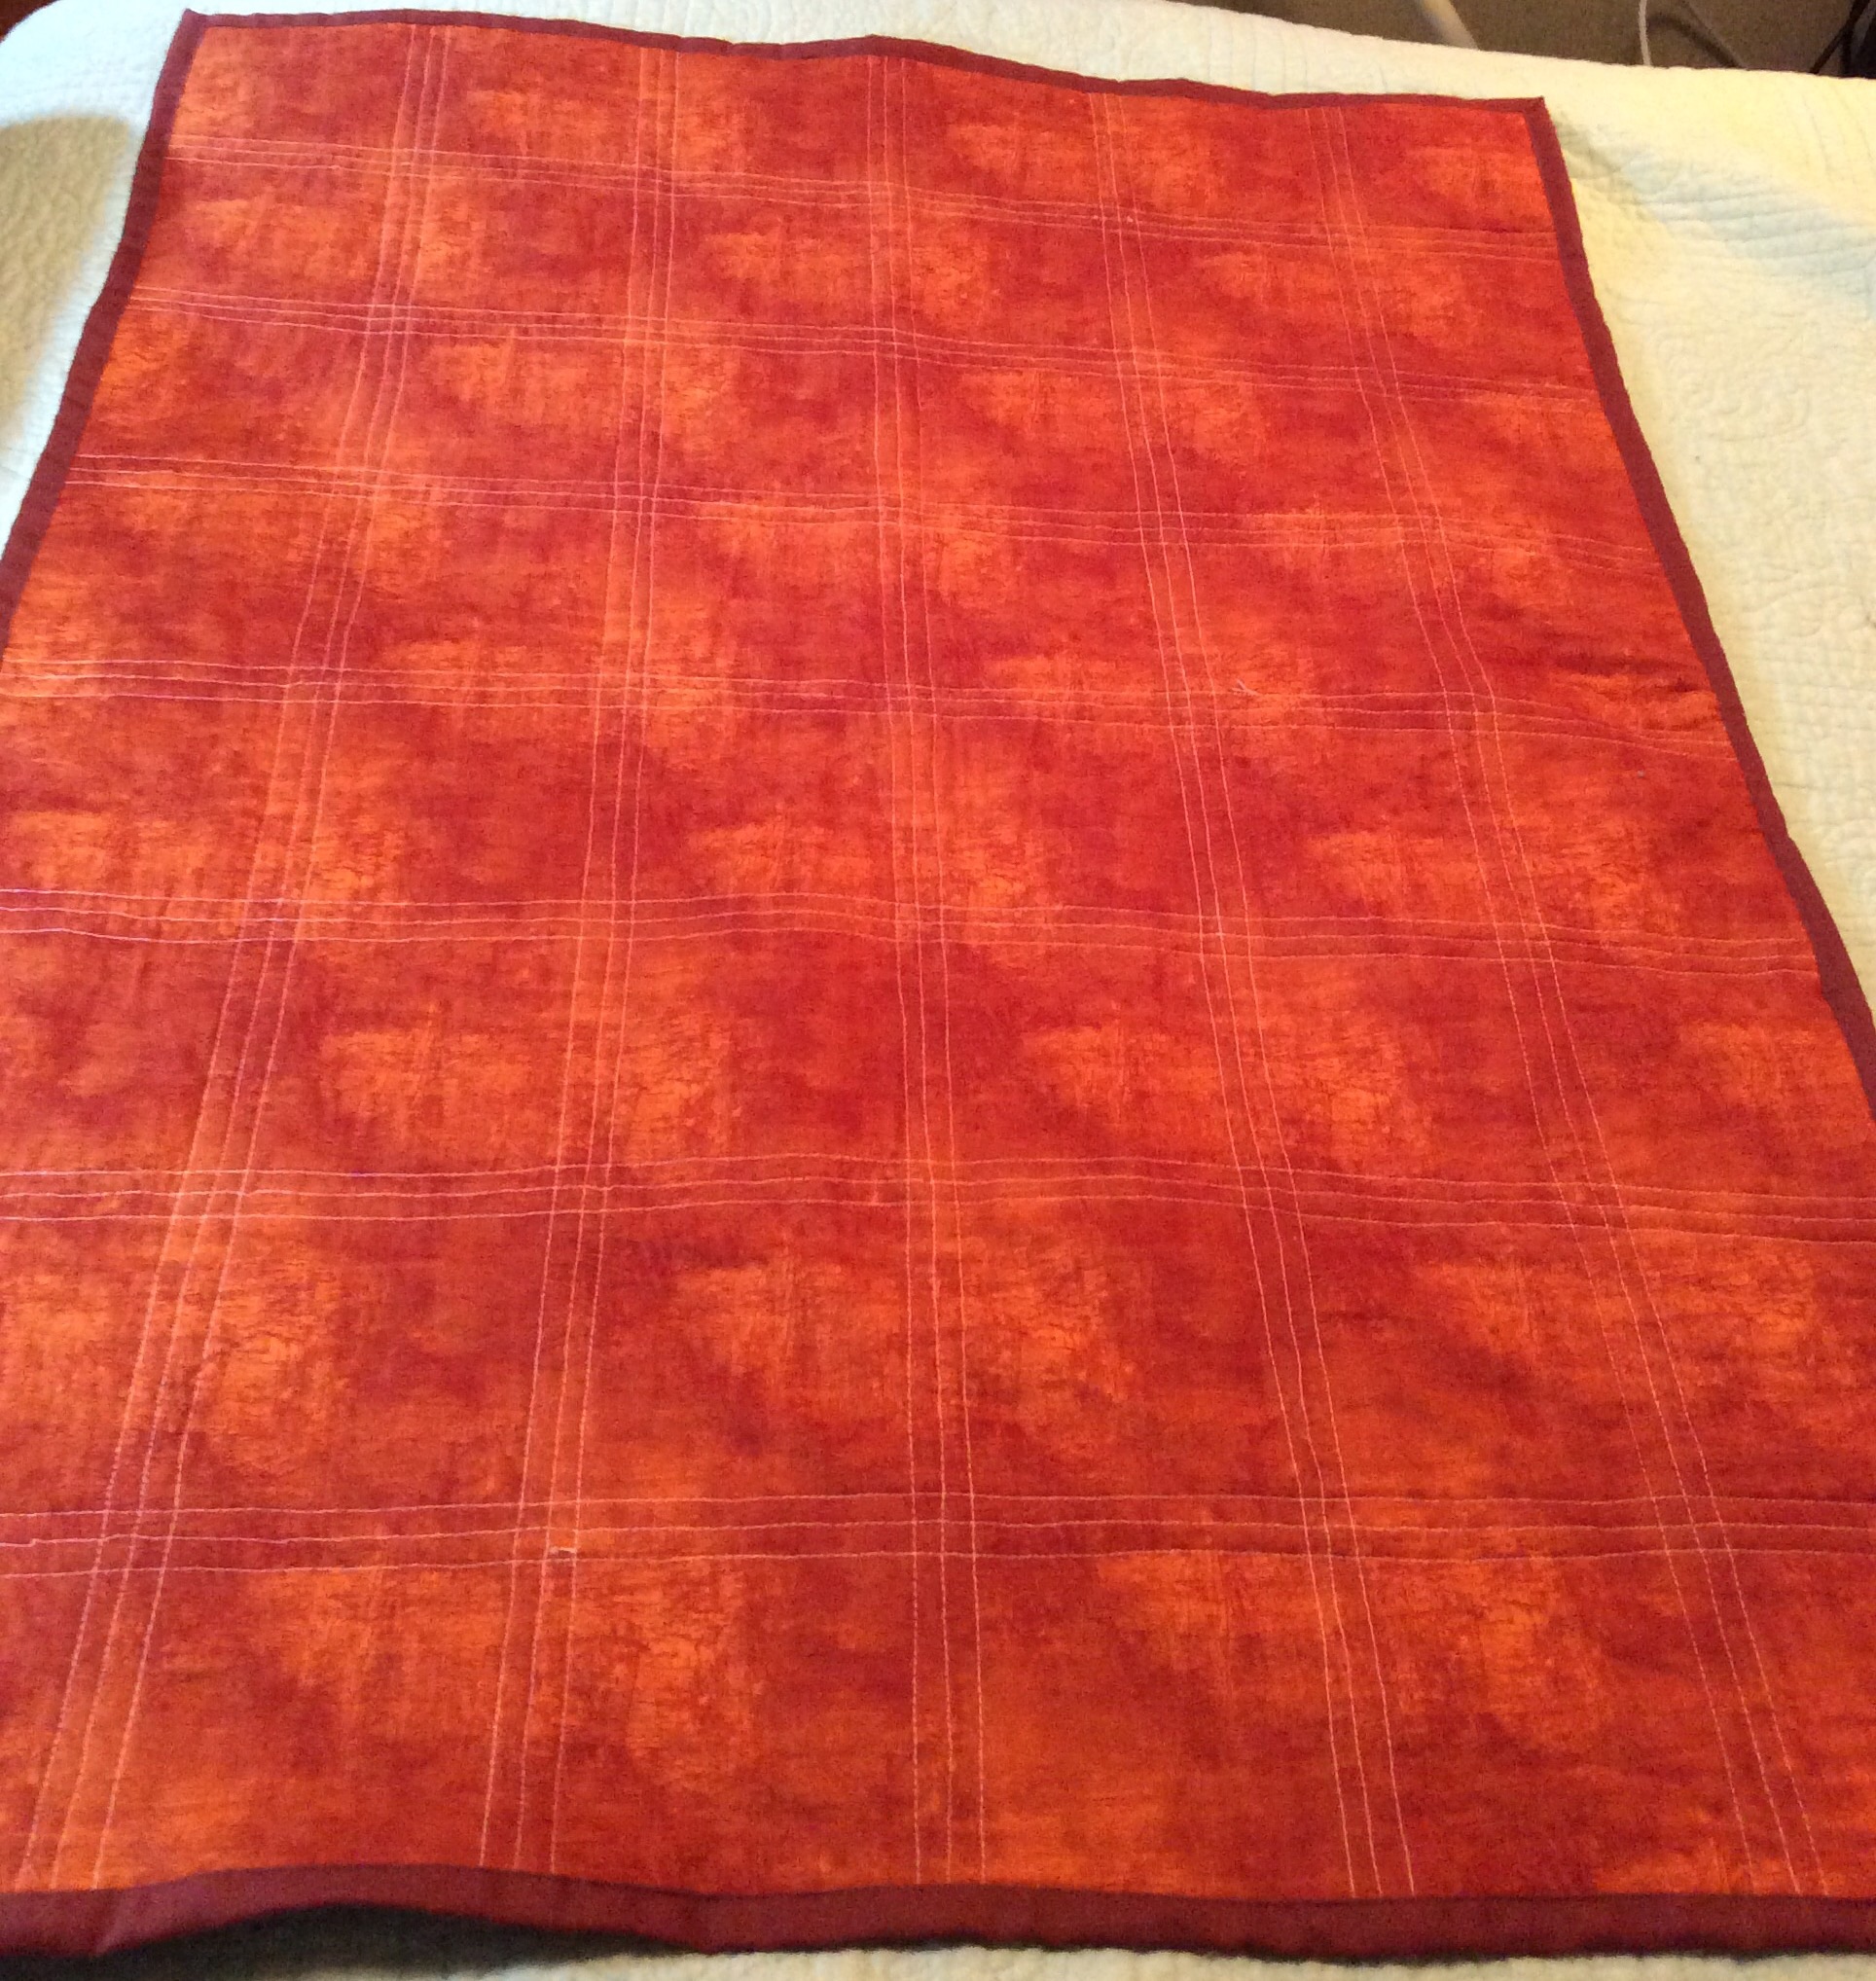
In early 2015 I began to plan making two other quilts for birthday gifts in late March. I’ll tell you about them in another blog.

Posted in Uncategorized | 8 Comments